RC Car Obstacle Course: An Ultimate Guide for Hobbyists
RC cars have been a favorite hobby of many enthusiasts for generations. These cars come in various shapes and sizes, with different levels of difficulty, and provide countless hours of fun and entertainment. One of the best ways to take your RC car experience to the next level is by building your own obstacle course.
In this article, we will guide you through the process of building your very own RC car obstacle course, and dive into some tips and tricks to make it as challenging and exciting as possible.
1. Choose the Right Surface
The surface on which you build your obstacle course plays a crucial role in determining the level of difficulty and entertainment value. Some options for surfaces include grass, dirt, sand, and pavement. Each surface has its own pros and cons.
Grass is an excellent option for beginners as it provides a bit of cushioning and reduces the risk of damage to your RC car. Dirt and sand add more complexity and obstacles to your course, but come with the risk of getting your car stuck or bogged down. Pavement is a popular choice for more advanced courses that require higher speeds and precision driving.
2. Design Your Course
The design of your obstacle course is limited only by your imagination. You can include jumps, ramps, tunnels, hairpin turns, and plenty of other obstacles. When designing your course, keep in mind the surface you will be driving on and the skill level of the driver.
Beginners should start with a simple, straightforward course with minimal obstacles. As you progress, you can gradually increase the difficulty and complexity of your course.
3. Add Some Props
Adding props to your obstacle course is an excellent way to increase the entertainment value and make your course stand out. Some popular props include cones, tires, foam blocks, and even soda cans.
Props can be used to make certain obstacles more challenging, or to create new obstacles that require a bit of ingenuity and creativity.
4. Test and Tweak
Once you have built your obstacle course, it’s time to test it. Drive your RC car through the course and note any areas that need tweaking or adjustment. Keep testing and tweaking until you are satisfied with the course’s difficulty and entertainment value.
5. Spread the Fun
Now that you have built an awesome RC car obstacle course, it’s time to share the fun with others. Invite friends and family to come and try their hand at your course or even organize an RC car obstacle course race.
Frequently Asked Questions
Q. What type of RC car is best for an obstacle course?
A. Any RC car can be used for an obstacle course, but some are better suited than others. Look for cars with durable construction, good suspension, and wide track width for stability.
Q. How long does it take to build an obstacle course?
A. The time it takes to build an obstacle course depends on how complex and large you want it to be. A simple course can be built in a few hours, while a more intricate setup can take several days.
Q. Can an RC car be damaged on an obstacle course?
A. Yes, there is always a risk of damage to your RC car when driving through an obstacle course. Always inspect your car after each run and fix any damage before continuing.
Q. How can I make my obstacle course more challenging?
A. Add more obstacles, increase the speed, decrease the size of the driving area, or add more props.
Q. Can you race RC cars on an obstacle course?
A. Yes, obstacle courses can be an excellent platform for racing RC cars. Set up a race with friends or family and enjoy the competition.
Conclusion
Building an RC car obstacle course is a fun and rewarding experience that provides countless hours of entertainment for hobbyists. Follow the above steps to design, build, and test your very own course, and share the fun with others. With some creativity, ingenuity, and effort, you can design a course that’s unique, challenging, and exciting for any level of driver.
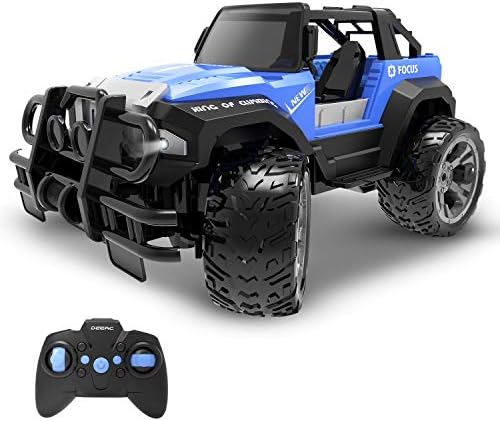
Price: $51.99
(as of Apr 05, 2023 11:33:58 UTC – Details)