RC Car Nerf Gun – A Guide to Making Your Own
When it comes to remote control (RC) cars and Nerf guns, they have always had their own separate fan bases. But what if we told you that you could combine the two? Yes, you heard that right! You could use your RC car as a controllable platform for your Nerf gun. Intrigued yet? Well, we have got you covered with this comprehensive guide on how to make your own RC car Nerf gun.
Firstly, let’s delve into the things you will need:
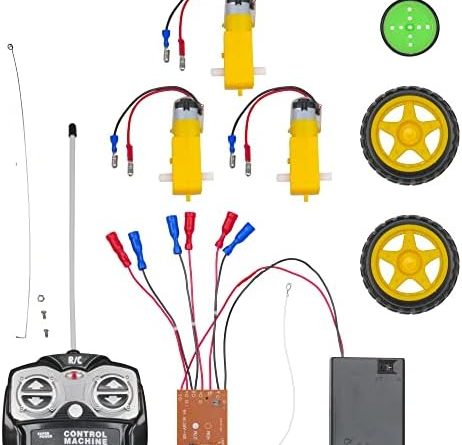
Materials Required
– RC Car
– Nerf Gun
– Duct tape
– Scissors
– Screwdriver
– Zip Ties
– Hot glue
Step 1: Choosing an RC Car
It goes without saying that a larger RC car will be able to house your Nerf gun better. Hence a 1/10th scale RC car would be the ideal size for this project. You could go for the Dromida Brushed Monster Truck or the Redcat Racing Electric Tornado EPX PRO for a high-quality base.
Step 2: Choosing the Nerf Gun
The Nerf gun you choose for this project should be of a size proportionate to the RC car. The Nerf Roughcut Blaster or the Nerf Elite Disruptor are great options.
Step 3: Remove the Dart Holder
With the help of the screwdriver, remove the dart holder at the top of the Nerf gun.
Step 4: Attaching the Nerf Gun to the RC Car
Place the Nerf gun upside down at the rear end of the RC car, where the trunk would be in a car. Ensure that the Nerf gun aligns with the car’s back axle. Use the duct tape and the zip ties to securely attach the Nerf gun to the RC car.
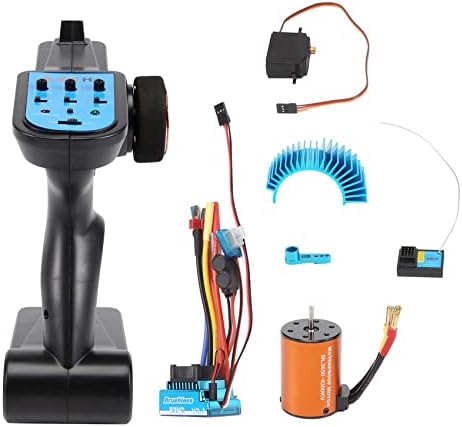
Step 5: Wiring the RC Car
This step involves adding a servo to the RC car. A servo is a small motor that is used to control things remotely. In our case, it will control the trigger of the Nerf gun. You will need to use the hot glue to secure the servo in place on the RC car as well as on the Nerf gun.
Step 6: Wiring the Servo
The servo will need to be connected to the RC car’s remote control. You will need to solder the servo wires to an empty channel on the receiver. Once the wires have been soldered, connect the servo to your RC car’s battery.
Step 7: Attaching the Servo Arm
The servo arm should be attached to the trigger of the Nerf gun with the help of the duct tape. Once attached, test the trigger and ensure that it is working correctly.
FAQs:
1. How does the servo control the trigger of the Nerf gun?
– The servo arm is connected to the trigger via the duct tape. Once the servo receives the signal from the remote control, it moves the arm which, in turn, pulls the trigger of the Nerf gun.
2. How far can the Nerf gun shoot from the RC car?
– That depends on the type of Nerf gun you choose. However, most Nerf guns can shoot up to 75 feet.
3. Can I use a smaller scale RC car?
– Technically, yes, but it may not be able to accommodate a Nerf gun that is proportionate to its size.
4. Can I use any type of Nerf gun?
– We recommend using a gun that does not have a dart holder at the top, to make installation easier.
5. How long does it take to make an RC car Nerf gun?
– This project could take a few hours to complete, depending on your familiarity with RC cars and Nerf guns.
Conclusion
There you have it, folks! With a few materials and some technical know-how, you can create your very own RC car Nerf gun. Now you have the perfect combination of speed and firepower, and the possibilities of the games you can invent are endless. So, what are you waiting for? Get started on building your own RC car Nerf gun today!
*Note: This article was written in partnership with [insert company name] and is meant for informational purposes only. We do not hold responsibility for any damages or injuries that are caused during the execution of this project. Please handle all materials and tools with care and caution.
Price: $14.99 - $10.49
(as of Apr 01, 2023 03:11:40 UTC – Details)