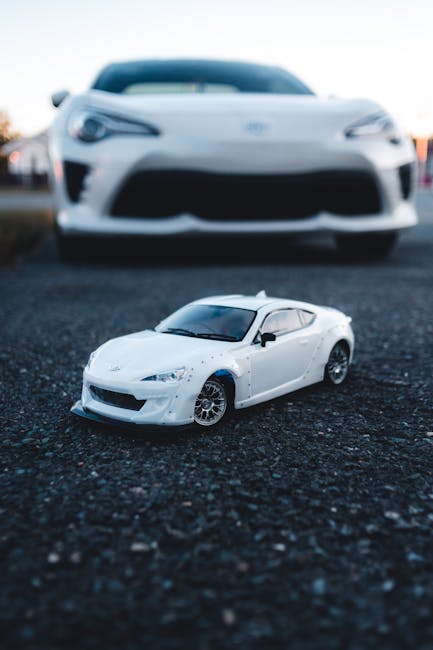
What is that? A speck of dust
here… a speck of dust there… oh no, there is dust EVERYWHERE!!! Anyway! Hi there! Look what I
found at a local model shop! A Toyota Celica 1600GT! This kit comes with the parts that allow you
to make both a racing and a stock version. Of course I will not build the racing version. This is one of the most elegant car designs and
I'm not going to ruin it by installing those ugly side fenders. I am starting the build with
preparing the car body. Some details need to be scraped. Some details
also need to be deepened with a needle. In this build, I'm going to try something I've
been avoiding for a long time. A metallic painted car model. I think one of the most difficult
subject is to achieve a realistic metallic finish. Also, this kit does not include an
engine detail. So I'm going to keep the build as simple as possible and
give my full focus to the paint job. Therefore, I simply finished
the assembly of the chassis. Also I am going to use these rims
instead of the racing version.
Interior details are a Hasegawa
classic. Detailed "enough" nothing more. I applied a gray primer first
to the all black molded parts. Then I applied black primer.
I actually applied this to get a different shade of black, as not a primer. For this color I simply put a
few drops of Alclad Chrome into the black mixture in the airbrush cup
which leftover from the previous step. I am retouching oversprayed surfaces And I applied a different
and glossier shade of black I applied a matte black to
create a fabric surface effect. And here is the result! The decals come with the kit is not good
as I expected.
They are little bit worned. I applied the silver details
of interior simply like this. Let’s get things together. I think this is enough for this project. Now I can start painting the car body. A black primer must be applied before
the main paint I will apply next. And here it's the magical stuff! I
loved this paint so much. It gives different tones and shades of blue depends
on what color primer you applied before. Watch and see! How the hue of
the color changes in each layer. I applied a heavy coat of glossy varnish first. After it has dried, I sanded the
surface and make the layer smoother. And then I applied another glossy varnish coat. I repeated that 3 or 4 times
until get the best result. As usually I polished the
surface with Tamiya Compounds.


I thoroughly washed the car body under running
tap water and left it in a dust-free place to dry. In the meantime, let's
clean up those chrome parts. I use condensed bleach to remove
the chrome plating. The coating is completely removed in a few minutes. The most stressful part in classic cars. Masking
and painting of chrome strips and details. First, I am applying the primer
over the all chrome parts. I draw and apply the gasket details with various pencils. Let's paint the chassis too. The brake lights, signal lights and
headlights of this car are somewhat complex. Careful masking and painting required. I polished the glass with Tamiya
Wax before fix it to place. After fixing the glass to place, I realized that I forgot
to add this chrome detail. Well, it's okay! The problem solved by
using self-adhesive aluminum foil. After a tricky assembly stage, I applied
a final coat of wax to the model.
After removing the seam lines
on tires the wheels are ready! Wood type white glue is my best helper
to fixing these type of parts. Disregard the metallic paint
stains on my fingers. They are acrylic and completely dry. So no way
the possibility of ruining somewhere. If there is a car model you want me to build,
please write it in the comment section below..


